Our trusted landscapers have created a guide on how to lay down the turfgrass, so you can achieve the desired results, and enjoy the most beautiful lawn.
HOW TO LAY A NEW LAWN FROM TURF
Step by step guide to laying Turfgrass – six steps to a beautiful green lawn.
1.Good quality, rich topsoil.
Good soil is the foundation of a good quality lawn.
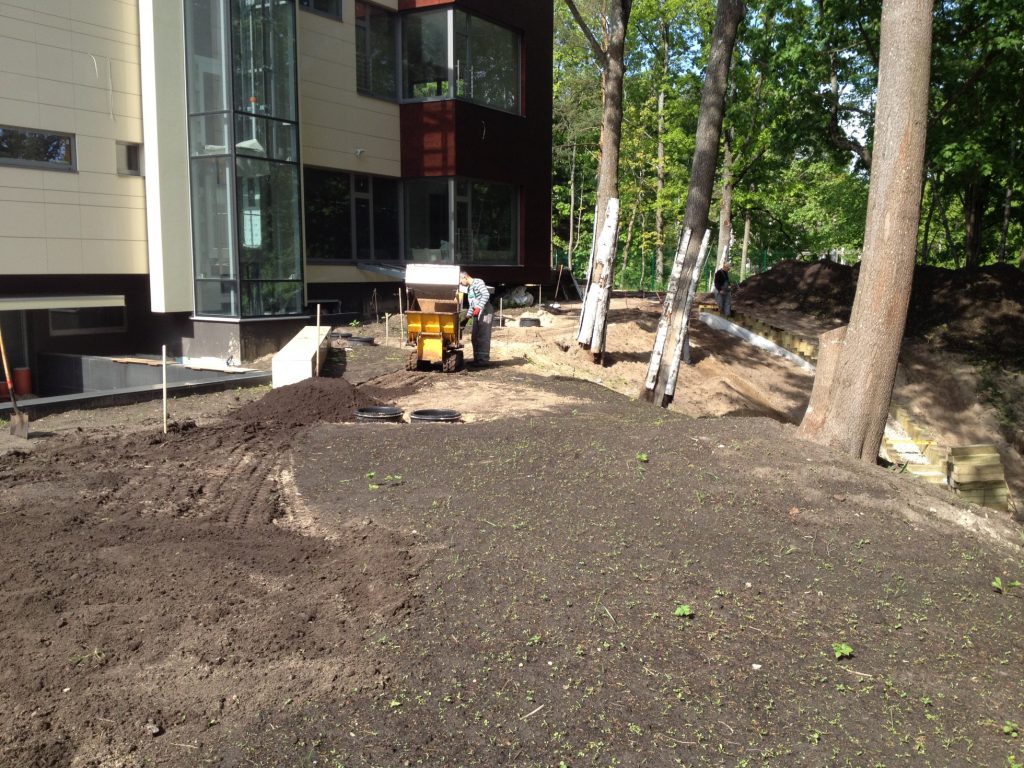
To ensure the best results and a quality finish to your new lawn the following steps should be carried out. Ground preparation is vital to the future of your new lawn. Inadequately prepared and unfertilised ground will not give satisfactory results.
To achieve the desired results there should be at least 13cm of good and fertile topsoil. This is the level where your lawn will develop roots and it will absorb all the nutrients, water, and oxygen.
There might already be a good level of fertile topsoil in your garden (existing gardens). Unfortunately, most newly developed sites or housing developments have a very poor soil condition. The same applies if the soil levels have been changed recently. It is important that the topsoil is:
- The best soil is loam soil (too sandy or too much peat is not suitable for lawns, but landscapers will be able to make any necessary changes)
- Remove all debris and stones that are larger than 2cm–3cm.
- Test the soil first to identify the soil type and the soil PH level. It should be neutral or as close to neutral as possible.
- Before putting down new lawn the are must be levelled and graded. To avoid any major drainage issues and water logging or puddles there should be a very gentle slope just above 1% (1cm to 1cm).
- Topsoil should be even all over the area. Try to get all your topsoil from one supplier or from one location.
- There should be an even level of topsoil.
- The required depth of topsoil should be at least 13cm.
Using the existing topsoil
If you are considering creating a new lawn on an existing grass patch, an old flower bed or even a potato field, it is important to evaluate the level and condition of that soil. The area should be levelled and graded, and make sure there is sufficient depth of topsoil (at least 13cm). These preparation works should be carried out in the following order:
- Dig or rotovate soil.
- Remove any roots of weeds, clods, stones, or any debris that are larger than 2cm -3cm.
- Roughly level the ground – the best way to do it is by using string and small posts. It will be much easier to determine the necessary height. It is important to do it at this early stage.
- Firm the soil by using garden roller or alternatively smaller areas can be walked on (it is called gardener’s shuffle. It can be a bit tedious on your own – so invite family and friends to join in.)
- Depending on the quality of the soil it might have to be improved by adding the essential nutrients or garden lime.
- If the soil is too sandy, you can add compost containing peat.
- Peaty soil will benefit from an application of sand.
- Clay soil can be improved by an application of sand, coarse sand blinds and peat.
Build your own topsoil.
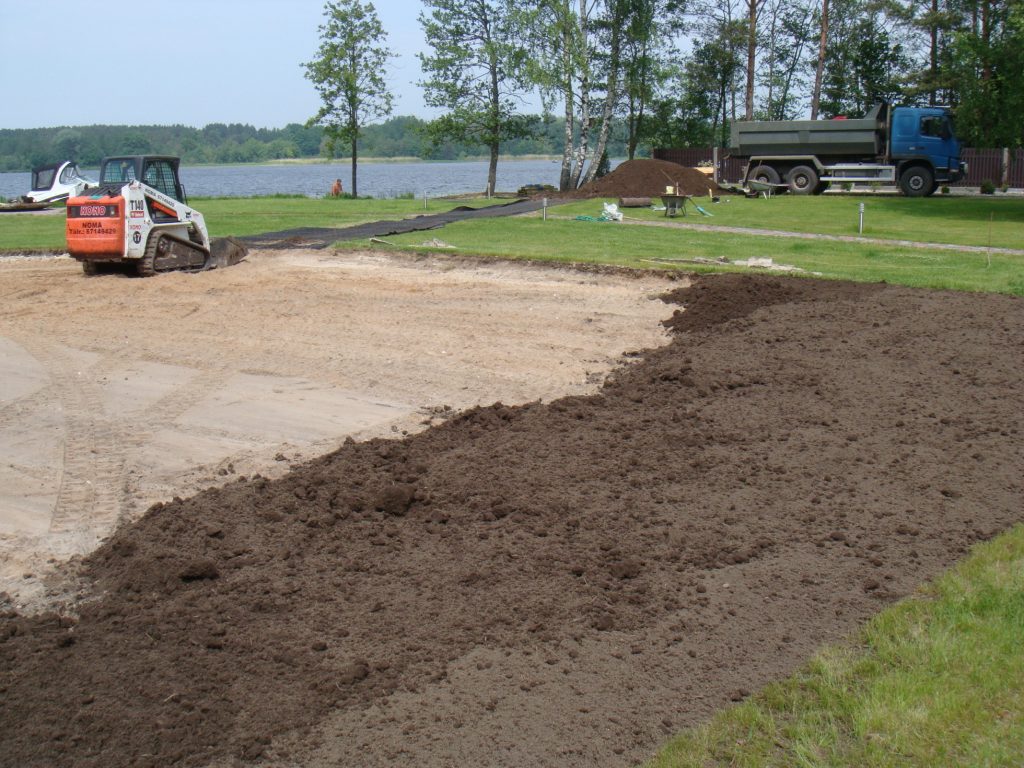
Very often new builds would be surrounded by very poor soil condition. Often poor-quality subsoil excavated to build the foundation mixes with topsoil, or the topsoil is scraped away entirely. Construction leaves soil compacted and in poor condition. If this is the case, then you should consider replenishing and improving soil. You should take the following steps:
- Firstly, clear the site to appropriate levels and falls.
- Remove existing topsoil at least at a depth of 15cm to be levelled and prepare the sub soil – remove any construction debris, level sub soil, or even replace or improve it if required. Once again you can use string and posts to make sure the levels are correct.
- Once sub soil is prepared it can be covered by at least 13cm of good fertile topsoil.
- Topsoil should be applied few cm higher. Once this is done, topsoil can be consolidated or firmed by using garden roller or your heels, this will stabilise the surface. If this is done correctly the ‘extra’ soil will compress.
- Depending on the quality of your topsoil you might have to improve it by adding extra nutrients or garden lime.
2. The preparation of topsoil.
Good quality topsoil = even lawn.
Once the topsoil (at a depth of at least 13cm) has been prepared, it can be levelled and consolidated or “heeled in”:
- To minimise future settlement, it will now be necessary to “heel in” the ground so that it is firm enough to withstand imprints being left when walking over the site (no deeper than 5mm). But do not be too firm as it can be a reason for a very compacted ground.
- Check for appropriate level, falls and slopes.
- Make sure the surface is levelled – check it by using garden string or builder board. Place the board on its side and if you can fit your fingers under it – there is more work to be done!
- One last check for any large stones, construction materials, weeds, or any debris.
The prep work appears to be detailed and so easy at the same time. Putting in the effort now will pay dividends by creating a level and visually pleasing lawn that is easier to mow and maintain.
To help with levelling the surface you can use garden string. Just choose the right level and try to go in few different directions so that you can achieve the most precise results.
Levelling can be done with a garden rake, just keep it light. Once raking has been finished, firm it down. After firming the surface will show dents, so those should be levelled out by using the garden rake. These steps should be repeated until the surface is completely smooth and firm.
During this step you should have achieved firm and flat level of topsoil which is almost ready for laying down the turf grass.
3. Before laying the Turfgrass.
Turfgrass requires a good kickstart.
To ensure that your new lawn is not put under any more stress and roots start to develop within one week, there are a few jobs we recommend you do before laying down the turf grass. They are not complicated, but still very important:
- Soil needs to be moist, so make sure to water the area.
- A pre – turfing fertiliser should be applied over the soil.
- The ground should be raked over to create a smooth surface.
- Double check – are you sure you are ready for the next step?
Watering the topsoil.
Damp and moist topsoil is vital for further development of the root system of your new lawn. The lawn will have good contact with the soil therefore, it will not dry out.
Good watering practise is vital in particularly dry and hot weather but ensure your lawn always has enough moisture.
How to water the area? Do it one day before the delivery of the turfgrass. Make sure to cover the whole of the area. Follow these simple steps:
- Ensure the topsoil is watered at least 10-15 cm deep. This way, the water will be stored, and it should be sufficient for next couple days.
- Avoid having water sit on the surface or run off – continuous waterlogging will do more harm than good. Muddy soil will complicate the laying process.
- Water it the day before, the best time is the evening before. This way you will ensure that the surface is evenly watered, and it can be raked and walked on without any difficulty.
- During the hot and dry weather watering is particularly important. It is vital to cover the ground using fine mist, so the water can be absorbed as it should be.
Effective watering will ensure that the topsoil is damp and firm in the morning, even on a sunny day. Watering this way is more useful than repeated watering over the turves.
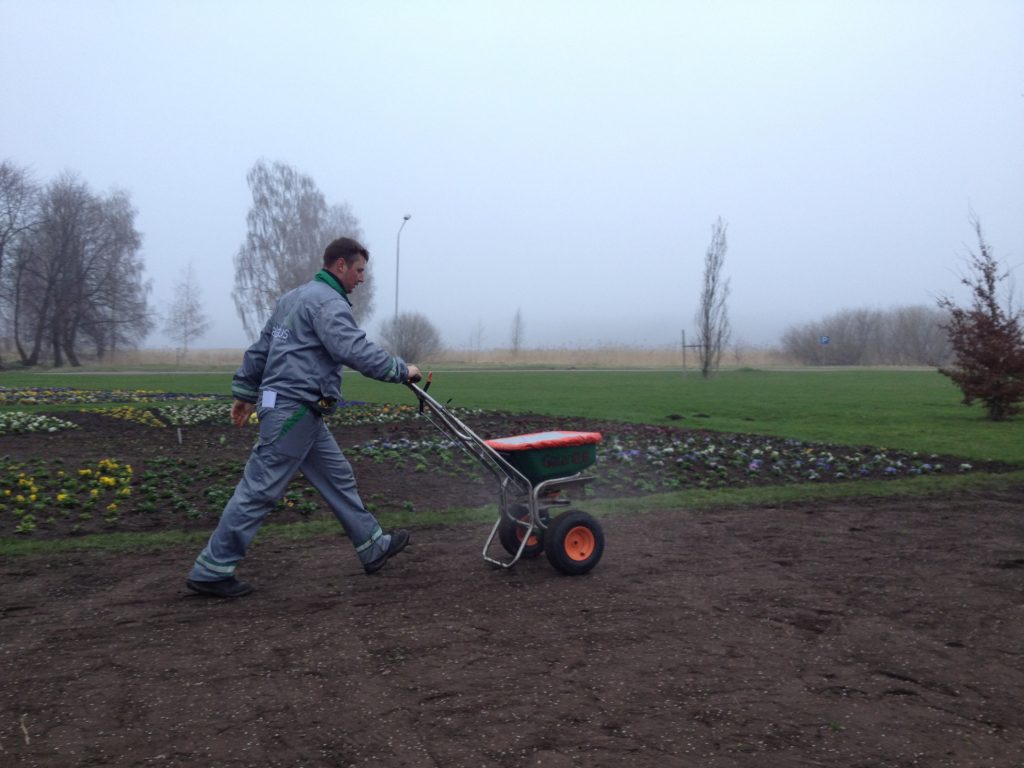
Applying pre seeding fertiliser.
Your new lawn is only few cm thick; root system has been damaged and reduced. Your new lawn has to adapt to the new environment, it has to develop a new root system and on top of all that it has to produce the green growth. This requires a lot of energy. So, our task is to ensure that there are enough nutrients in the soil.
We recommend using a complex, slow-release fertiliser. Ensure this fertiliser contains high levels of Nitrogen.
This type of fertiliser will start to dissolve into the damp soil within few days. Once new roots appear, they will be able to absorb the essential nutrients. Slow-release fertiliser offers your lawn a more consistent and long lasting (up to two months) injection of balanced nutrients. We use and recommend using Multigreen Printempo fertiliser, which lasts up to 2 months. Based on our own experience, we have discovered that using Multigreen Printempo fertiliser results in a dense, deep – green mat of grass. It promotes strong, steady growth, which will result in the root system developing properly and the plant strengthening itself in the long term. Recommended rate is 25 -35g per m2. You can order this fertiliser from us and it will be delivered together with the Turfgrass. Order the Turfgrass from Us.
Rake and Smooth the surface.
Once the surface has been watered and you have applied pre – seeding fertiliser it is time to rake the surface. It is important to loosen the soil a little bit, so, that grass turves have as much contact with the soil as possible. Compacted soil impede root development and it can create so called ‘air pockets.’ By lightly raking the surface you will ensure that fertiliser has been mixed with the soil and it is loose enough for the root development.

Are you ready to lay down the Turfgrass?
Doble check everything before receiving the delivery and laying the turfgrass. It is important to work quickly and without any mishaps.
Install your lawn as quickly as possible after the delivery, we recommend within 24 hours. But if the weather is hot and dry do not delay, as every hour counts.
A quick check list:
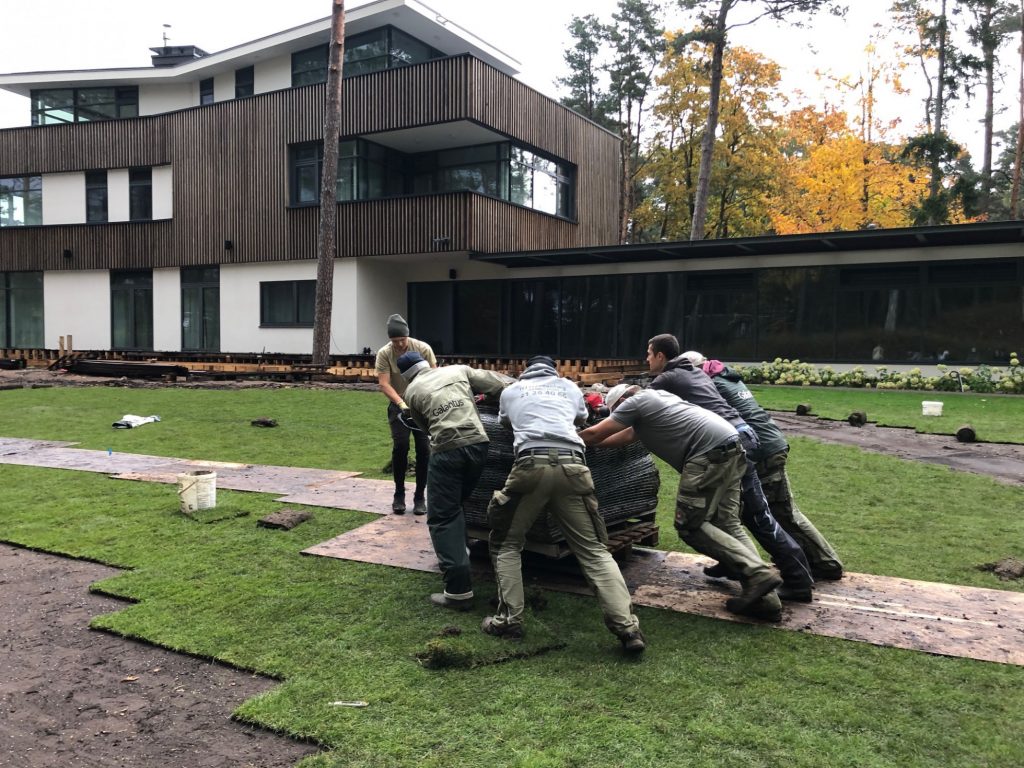
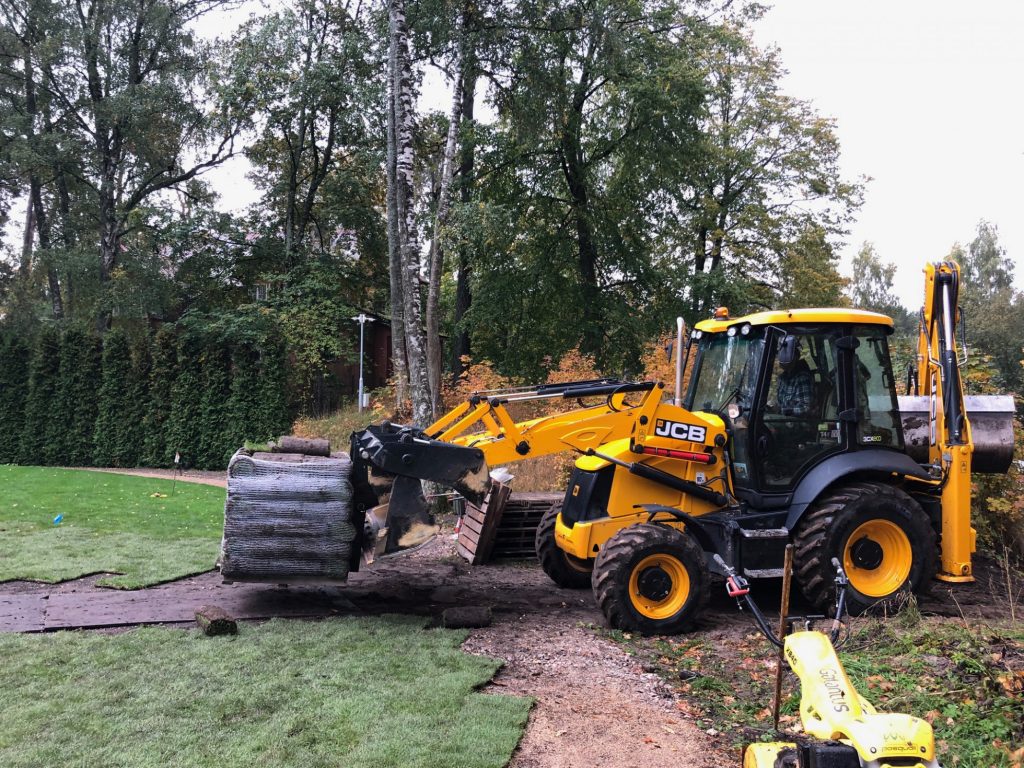
- Have you considered the unloading of turfgrass from the truck? EasyGreen can provide an unloading service, but if you have chosen to do it yourself, make sure the required equipment and manpower is on site before the truck arrives.
- Have you considered how to get the rolls of grass directly to the chosen area, especially if this area is not reachable by the delivery truck? You can use a forklift or a pallet truck, or even few wheelbarrows and plenty of workers.
- Ensure you have wooden boards, builder’s planks, or plywood sheets handy. These are great to use when moving over the prepared surface. Do not use any type of heave machinery, as this can damage the soil. These boards may become useful in wet weather conditions.
- Garden roller – is it available? Can it be used right after the turf grass has been put down?
- Irrigation equipment and good supply of water. It is important to check the irrigation system beforehand, to ensure it is connected and in working order. Everything must be in working order. It is better to check twice.
- Other garden tools – rake, sharp knife, garden spade, wheelbarrow and other tools that might be useful during the process. A good, sharp knife is important for cutting the turves.
- Enough workforce. A person without any experience can put down up to 50m2 a day, but a professional landscaper will be able to cover up to 100m2. (jobs are split among all the team, some will be putting down the turves, others bringing it over and watering)
It is better to finish the job earlier, rather than leaving it for later or even for the next day! The quicker it is put down after the harvesting, the less risk of any damages, and a green and lush lawn will be your pride and joy.
Everything is ready.
4. Laying the turf grass.
That moment is here! Let’s get started!
Once all the groundwork work has been finished, it is time to put down your new lawn. It can be tough work, but it is the most rewarding part of the whole process. Very soon you will be able to enjoy the most beautiful green lawn ever.
It is imperative that rolls of grass are put down as soon as possible after receiving the delivery. Lay all the turves within 24 hours of delivery. Every hour spent rolled up damages the quality of the grass, especially if it is very hot and dry.
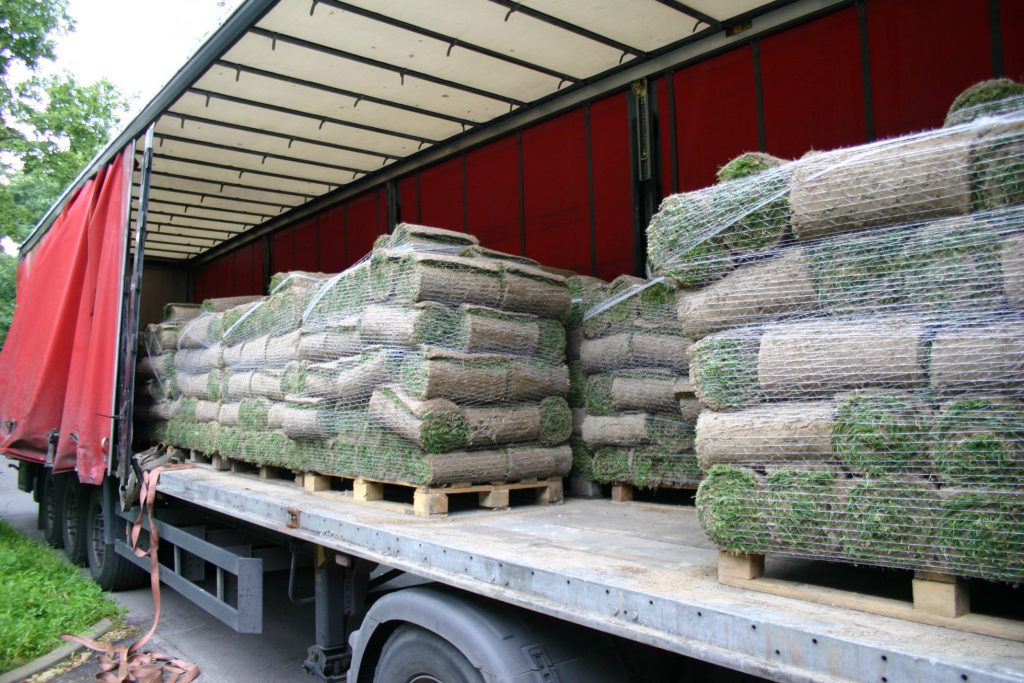
Delivery and Unloading.
All rolls of grass are packed on pallets, so unloading is straight forward. EasyGreen provide unloading service, prior arrangements must be made. It is advisable to move stock as close as possible to the site, so there is an easy access to the product without using too much energy moving grass rolls from one place to another.
In hot weather (sun, wind) store grass rolls in a shady spot, or cover it with any breathable material to protect it from direct sunlight, but make sure grass is not sweating. Remember that sun moves around during the day and those shady spots can change as well.
Delivery directly to the laying site.
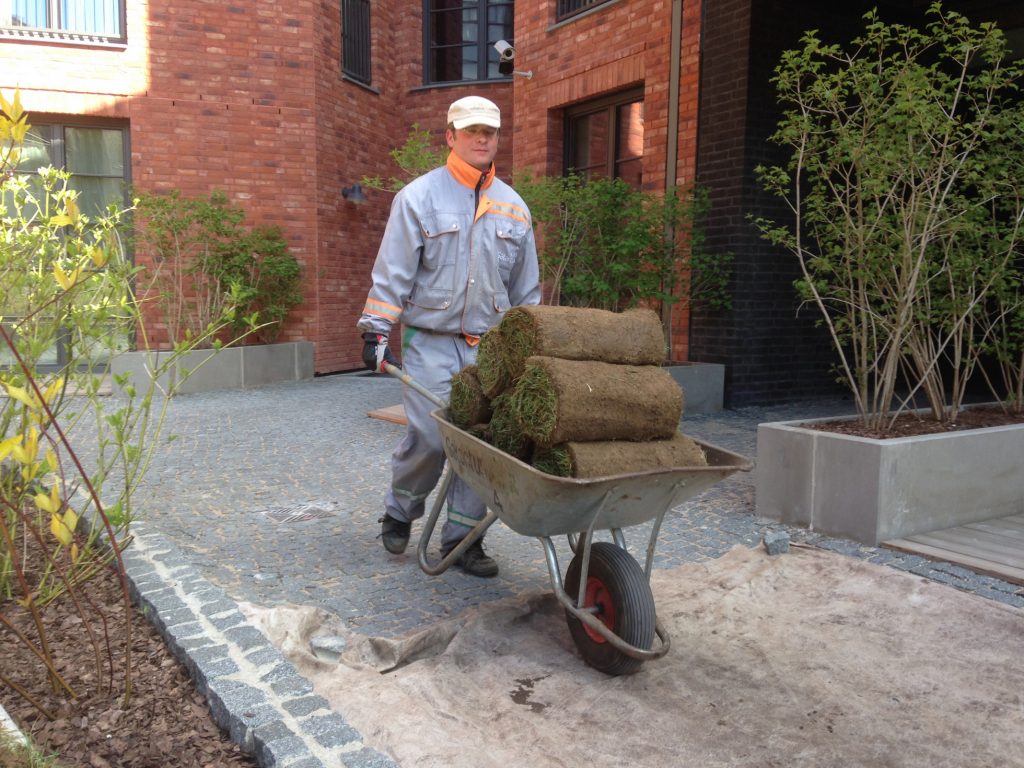
Take one roll at a time and bring it over to the area of your planned lawn. We recommend you do not walk over the prepared area too much.
Avoid walking on newly laid turf – boards can be placed down for walking on, or along.
If the surface has been prepared correctly delivery of the grass rolls should not leave any markings. But if there are any marks or tracks left on the new surface, make sure to level them with a garden rake.
The delivery of the rolled grass is one of the hardest and easiest jobs.
It is important to place rolls as close to the laying area, and as close to the person who is putting down the rolled grass:
- Plan where previous roll finishes, and where the next one should start.
- Make sure that your landscaper has enough space to move around.
- Make sure the roll of grass is placed in right direction (because they can be unrolled in one direction) – to save time and energy.
- Plan this to avoid any unnecessary movement and walking over the prepared lawn surface. This will save time and energy to all involved, as the job can be challenging.
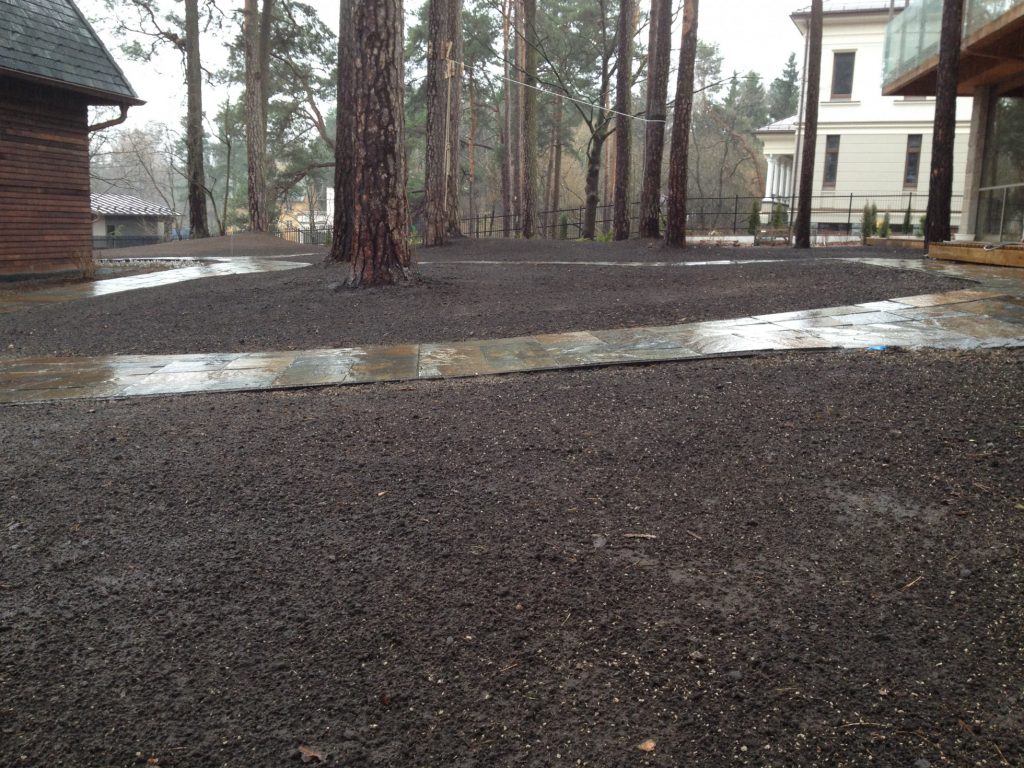
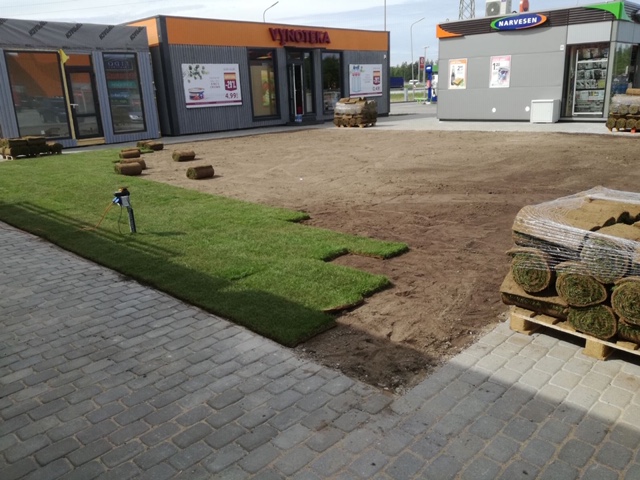
Laying the turfgrass.
Turves should be laid in a stagger style, in brickwork fashion – start laying the turves in a straight line using the full length of the roll, the following roll should be cut in half to create brickwork pattern.
Don’t have two gaps aligned with each other, by staggering turves this way you are avoiding long “seams”, which can create issues later on, especially when it is dry.
Few important ‘tips’ to remember:
- Staggered lines, brickwork fashion (described above)
- When you are putting down the turves you want the tips of the turf to face the opposite direction of the main views.
- Sloped areas or steep areas start from the top and work your way down (more about sloped areas below)
- Don’t leave any large gaps between turves, use the flat of your hand to ensure good contact between the underside of the turf and the soil. Do not leave any gaps, as the edges of the turve tend to dry out very quickly. Once the edges are dry, they can start to roll up and loose contact with soil.
- Working around flower beds, paths and other objects can be difficult. We suggest at first to use one strip to outline the shape of the object you, and then join in and cut the rest of the grass strips one at a time. This will give visually pleasing results.
Once it is finished new lawn should feel and look nicely levelled!
Trim the edges and corners with a long sharp knife, any offcuts can be used to fill smaller areas.
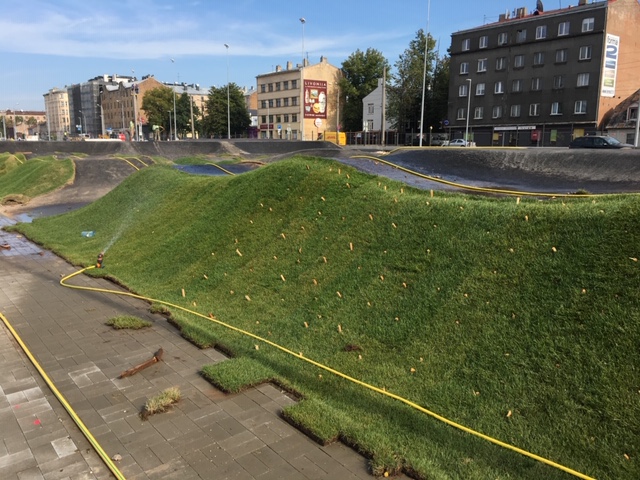
Laying turf on steep or sloped sites.
Turfgrass is the easiest – and sometimes the only way – to establish grass cover on steep slopes and embankments. By planting turfgrass, you can prevent your hillside soil from running off and eroding.
Slopes with an incline for up to 45 degrees do not require any special equipment, but we recommend you contact one of our specialists to give you the best advice. Laying down turfgrass on a slope becomes more difficult as the grade becomes steeper. In this case we recommend overlapping turves over the top edge of the slope or hillside. Overlap should be at least 0.5m. Use the ‘brickwork fashion’ when putting down turves on a slope also. Once turves have been put down, you need to secure them in to place. Use wooden pegs (15-20cm long), make sure the pegs have penetrated the ground beneath the grass, or they will not hold the strips in place. Once pegs are in place, level them, leave them at the same level as tips of the grass – lawn will be even and secure. Every strip of grass will need 1-4 pegs, but it depends on incline of the slope.
Once turfgrass is in place make sure to bed it into soil and water it generously.
Look after your lawn, especially for the first two weeks after it has been put down.
5. Right after the laying down the turf grass.
Nearly finished.
Putting down turf grass is a magical moment, for both the client and landscaper. The garden is transformed and there is no way to hide the excitement.
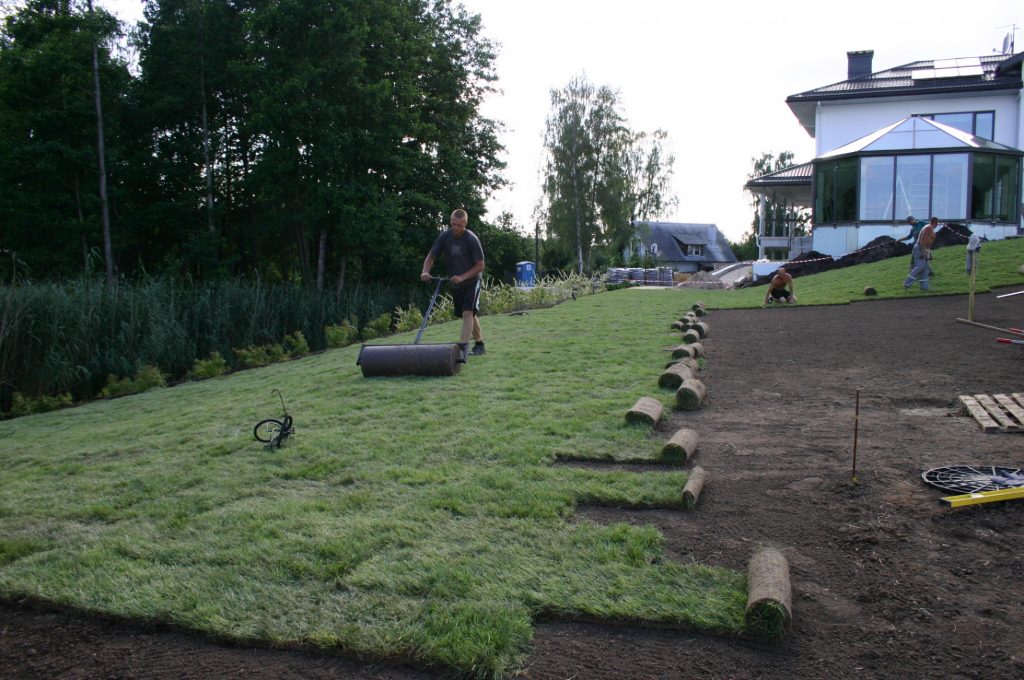
Once turf grass is in place, the process must be brought over the finish line. Ensure turf has full contact with the soil and that there are no gaps or any air pockets as leaving any air pockets will delay the rooting process. We recommend you use garden roller, or alternatively you can use wooden boards and just walk over these. There is no need to squeeze ‘the living day lights’ out of your new lawn, just make sure it has good contact with the soil beneath.
When using garden roller be careful on turns and corners as it can create lumps.
Landscapers have their own special tools for firming down the lawn. Never ever use any kind of vibratory plate or heavy machinery. If there is any damage done during this process it has to be repaired right away.
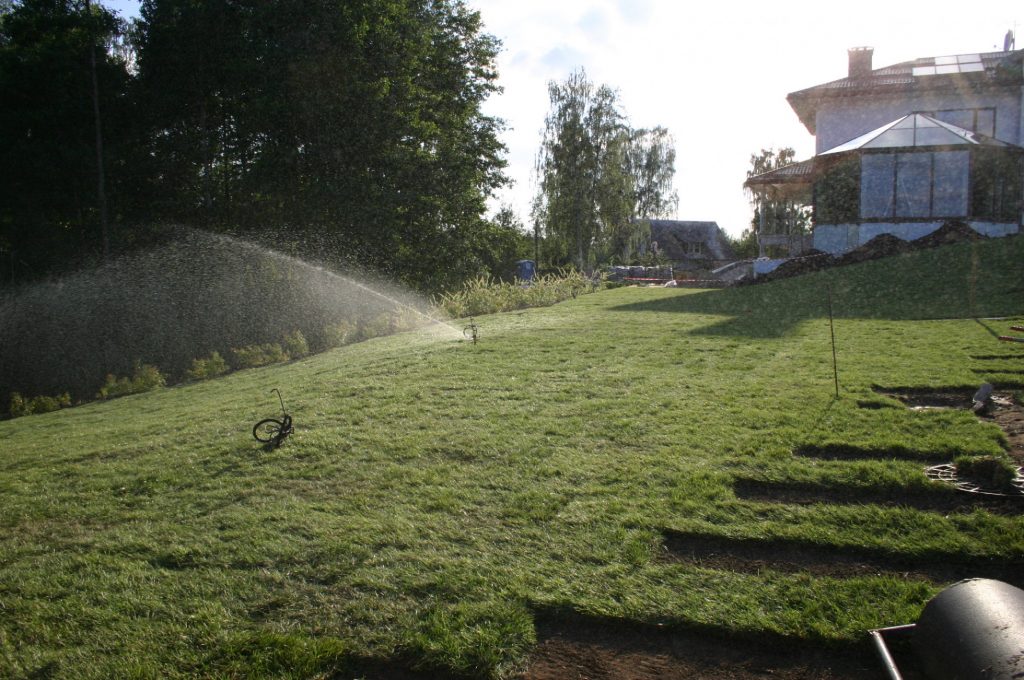
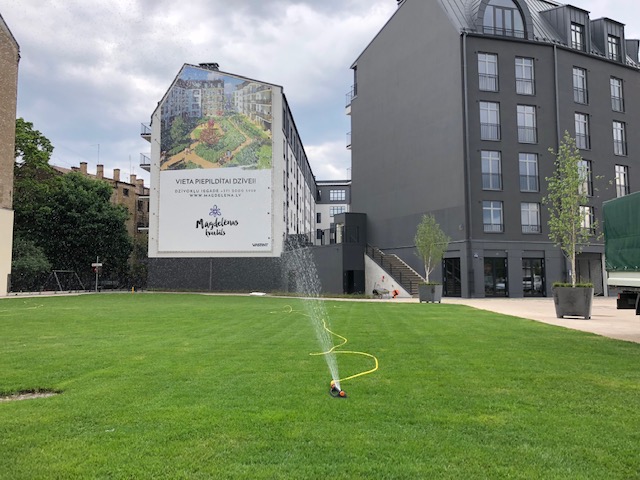
Water the Lawn.
Newly laid lawns are vulnerable to drying out right now. In an established grass plant, the surface area of the roots is greater than the surface area of the leaves. Every day, a grass plant loses water through its leaves (it’s the plants’ equivalent of us exhaling and sweating).
In healthy soil, turf grass will generally have a root depth of 15 -20cm. However, newly planted lawn root depth is only 2-3cm, so newly planted lawn has no access to any minerals, nutrients, and moisture that are deposited deeper in the soil. Therefore, it is very important to water lawn as soon as possible after laying it down.
The turf should be soaked till the water has seeped through the turf and few cm into the soil. Do not create any puddles or saturated areas.
In general, 10 to 20 min with a sprinkler will be sufficient. Check that the water has seeped through the turf, just turn up a corner to check that this has happened. If, after watering, you can lift up a corner of the turf and see that the soil is wet but not sodden – you’ve done it right. It is important to water the lawn consistently and evenly, especially edges, corners and any tricky or difficult locations, as these are the areas that tend to lose more water during dry weather. Any dry areas will be visible within one day, you may see the leaves at the edge of each turve turning yellow and then brown.
Larger areas (over 300 m2) should be divided into smaller sections, particularly during hot weather. Turf should be put down, firmed, and watered in each section, before moving to the next section. In general, the team of landscapers would have few staff and each of the is assigned with a particular job.
6. Maintenance of turfgrass 2 weeks after the installation.
A little bit more attention necessary.
It is amazing to see the transformation of any garden. Bare soil in the morning, all green and lush by the evening. It is fantastic to see the accomplished results. Newly laid lawns are particularly vulnerable and delicate for the first two weeks after putting down. During these two weeks lawn is restarting its growths and developing root system.
The new roots can be checked by simply lifting a small section of grass and examining any signs of good root development.
Watering and Irrigation.
Watering must be repeated until the turf has established. Weather conditions and the season it was planted will dictate the frequency of watering. In general, there will be less attention required during the cool Spring months or Autumn. In Summer months and dry hot weather, you will be required to water your lawn more frequently.
Watering during the first week of newly planted lawn is very different from general watering, when saturating it’ every now and again’ is acceptable. During the first week of development of your new lawn it is important to water it ‘often & little’. During the first week of its growth root system will stay at 2 – 3cm. It is important to water your lawn once or even three times a day (depending on weather conditions), leaving the sprinklers on for about 5 – 10min at a time. Check the soil under the turves, so that your lawn getting enough water. Soil should be moist and at least 1-2cm deep. There is no need to water any deeper than that, as the roots have not grown long enough to access moisture that deep. Watering will make easier for the lawn to access nutrients that were put down before planting.
On average after 5 to 7 days the root system of your new lawn will start to develop new white roots, and after 9 to 14 days it will be very difficult to lift any part of the lawn without using a bit of force. Once new roots are starting to root you can ease up on checking your lawn and can adjust watering accordingly. – reduce the periods of watering but increase the duration of watering. In the second week of newly planted lawn, you can implement general watering schedule.

Do not let the lawn dry out and avoid over watering. Over watering can cause water logging and turves may start to rot and eventually die. Keep an eye on edges and corners, as these parts tend to dry out quickly.
Classic warning sign of underwatering will be noticeable at a very early stage. If you notice any yellowing or brown leaves don’t hold back! Water, water, and more water, if necessary, get that watering can out.
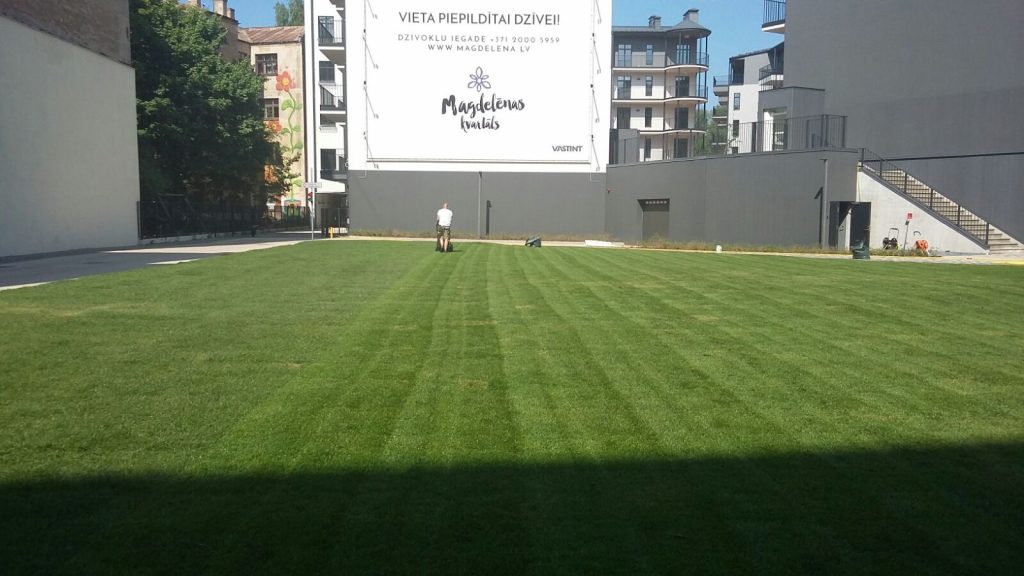
When to mow your new lawn.
After putting down the lawn will be approximately 3.5 to 5 cm tall. You might even notice a strange patter, that is because some rolls might have been laid in a different direction. Don’t worry, it will correct itself after just a few ‘cuts.’ The lawn will turn lush and green.
Do not rush! There is no need to mow your lawn in the first week after putting it down. Mowing can put newly planted lawn under more stress. It is vital that roots are established before you start mowing. Otherwise, the action of a more powerful mower could rip up the turves and damage the lawn.
Few tips:
- First cut is recommended after roughly 5 to 7 days after planting.
- Cut across the grass turves.
- Use Rotary lawnmower, make sure the grass box is attached.
- Cut it every 2 days.
- After the 2nd or 3rd cut you can gradually lower the blades of your lawn mower, until you have achieved the desired height. The height depends on the type of turf grass – EsayGreen Family 5 to 6cm, or EasyGreen Active 2.5 to 5cm.
- If you notice that there is not enough growth between the cuts, you can reduce the frequency of the mowing. But do this after 2nd or 3rd
- Change mowing patterns. Mowing often lays the grass over slightly and therefore it is important to mow in different direction. Once you have reached 5th cut you can start to cut in the direction of laying.
- If you have chosen to use Robotic Lawn mower, make sure you start using it one week after planting. Adjust the heights of the mower, aim to nip just the tips of the grass, adjust the height every time by just 5mm until you have reached the required height.
You can enjoy your new lawn visually from the very first day but try not to use the lawn too much for the first week.
If you added slow realising fertiliser before planting, you do not have to feed your lawn for other months and a half or even two months but keep an eye on your lawn and it will let you know if feeding is needed.
You can fully enjoy the benefits of your new lawn after roughly 2 weeks after putting it down. From there on you can maintain it as an established lawn, and that is totally up to you.
